Creating a New Connection to QuickBooks Desktop
Note: Class tracking allows you to connect multiple .qwc files (i.e., Meevo locations) to your company QuickBooks file.
IMPORTANT: Before creating a connection to your desktop version of QuickBooks, ensure that you've done the following: turned on and configured tax rates in QuickBooks, turned on class tracking, and created an Undeposited Funds account. These steps are explained in Best Practices for the QuickBooks Integration.
- Type quickbooks into the Convobar, or go to Meevo > Integrations > QuickBooks Desktop. Be sure to have your QuickBooks Desktop login information handy.
- On the Main tab, select Create a New Connection.
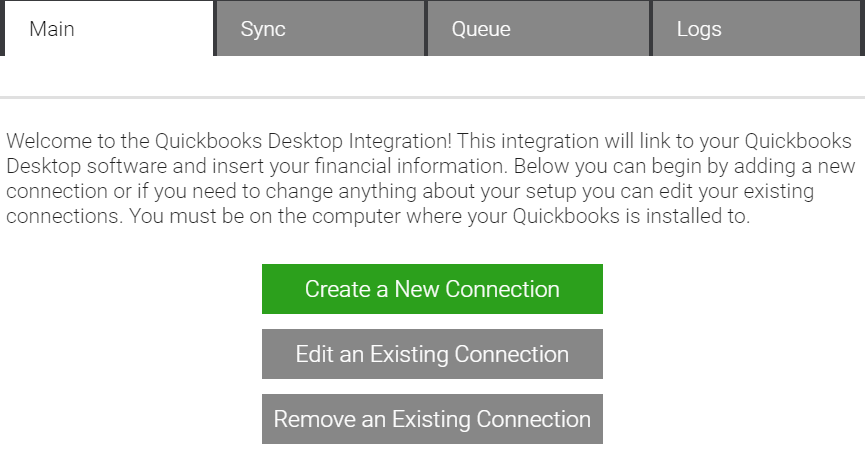
- Enter a Connection Name that makes it easy to identify this connection in Meevo. DO NOT enter any symbols into this name; only alpha-numeric characters.
- Enter a Password that will be used to secure the connection. This password is used to connect Meevo to QuickBooks; it has nothing to do with your existing QuickBooks credentials or login information. When finished, select Next in the bottom-right corner.
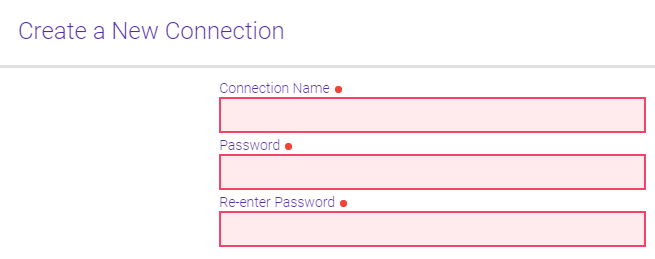
- In QuickBooks Desktop, make sure you've opened the company file you wish to sync to.
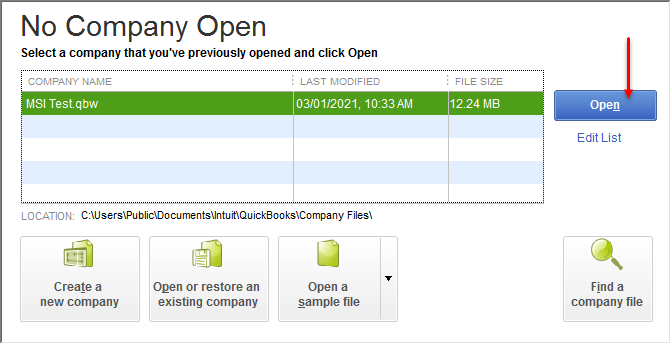
- Review the prerequisites A, B, and C that are on-screen in Meevo and make sure they have been completed. These steps are explained in Best Practices for the QuickBooks Integration.

- Initiate the connection:
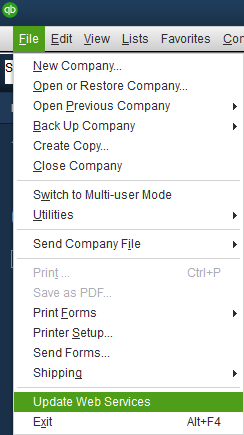
- In QuickBooks Desktop, go to File > Update Web Services. This opens the QuickBooks Web Connector window. Depending on your QuickBooks version, this path may also be File > App Management > Update Web Services.
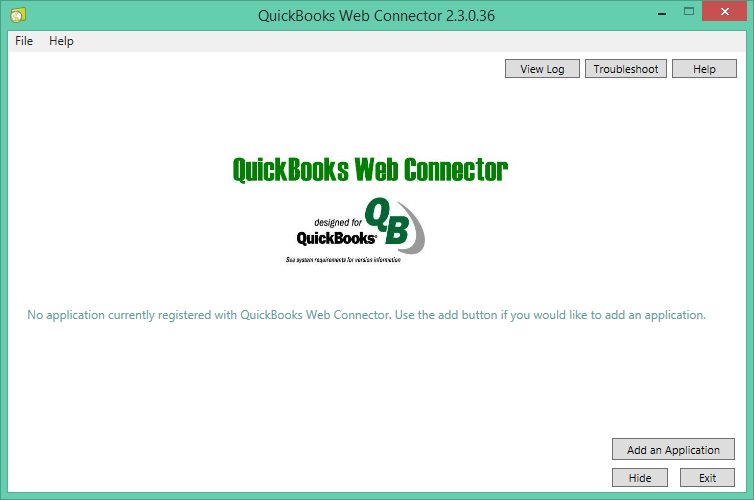
- Select the Click Here To Download QWC Setup File link beside Step Two. The .qwc file is automatically downloaded to your system's default download location (usually the Downloads folder).

- In QuickBooks Web Connector, select Add an Application. Browse to the .qwc file location, select it, and select Open. This opens the Authorize New Web Service window.
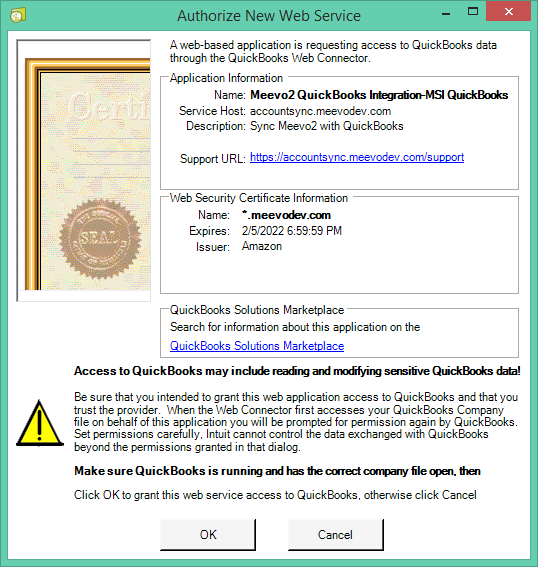
- On the Authorize New Web Service window, select OK. This opens the Application Certificate window. Make sure Yes, whenever this QuickBooks company file is open.
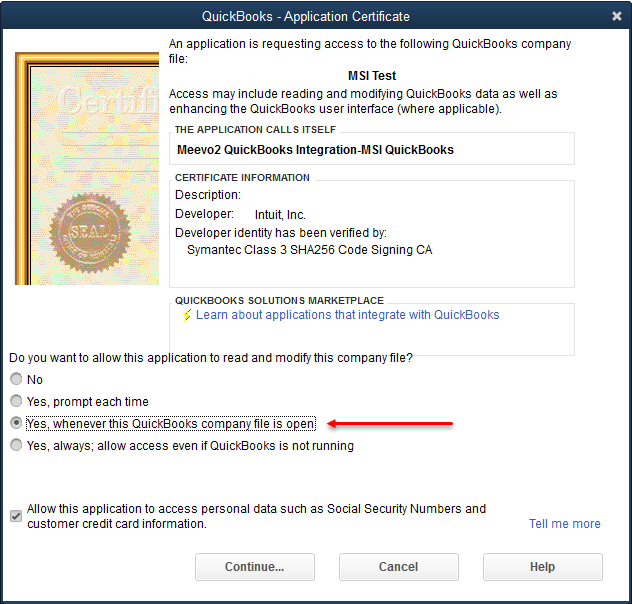
- Select Continue, and then on the small Access Confirmation window, select Done.
- The integration now appears in QuickBooks Web Connector. Enter the password you created at the beginning of these steps and press Enter on the keyboard. Select Yes on the confirmation message to save the password.
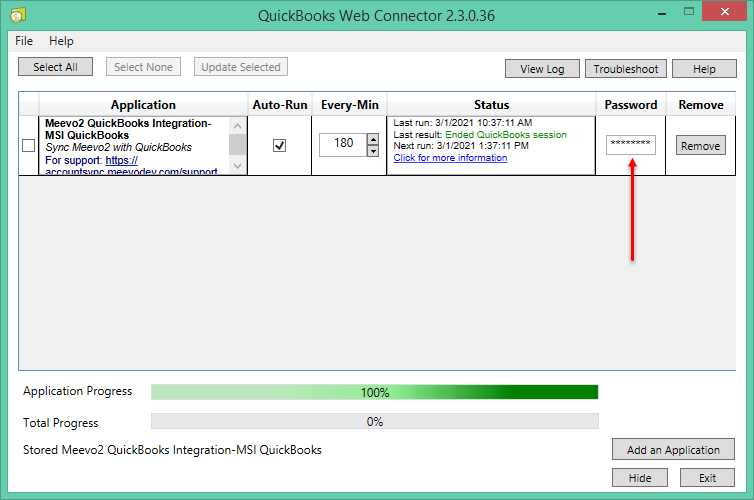
- In QuickBooks Web Connector, select the integration and then select Update Selected.
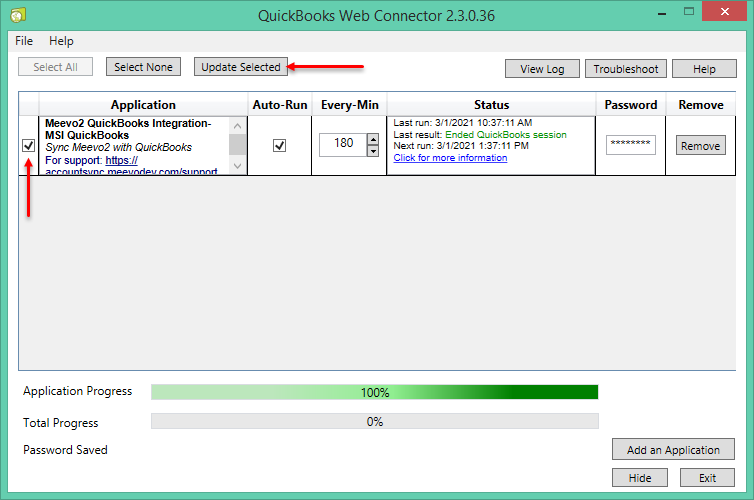
- When the Status reads Sync Completed, you can proceed to the next step. Select Next in the bottom-right corner of Meevo.
- You are now ready to set up accounts and payment types. See Setting Up QuickBooks Accounts and Payment Types for details.