Viewing and Editing Techsphere Clock Actuals
When viewing actuals in the Schedules screen, selecting a day that has Techsphere clock data will reveal the usual Schedule Editor slideout, along with a new Show Techsphere Clocks button that you can select to view or reconcile details on all of that student's/employee's Techsphere clock events for that day.
Here's how it works:
- Open the Schedules screen by typing schedules into the Convobar or by going to Meevo > Schedules > Schedules.
- Select Switch the Actuals.
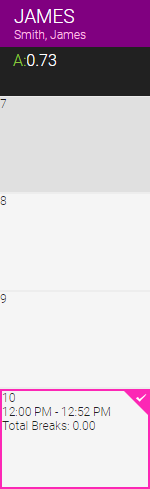
- Select a day that has Techsphere clock data (within the day there will be timestamps and a Total Breaks line).
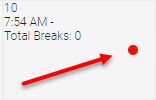
Note that any clock discrepancies will appear with a red dot. That red dot indicates that you need to edit the actuals to resolve the issue.
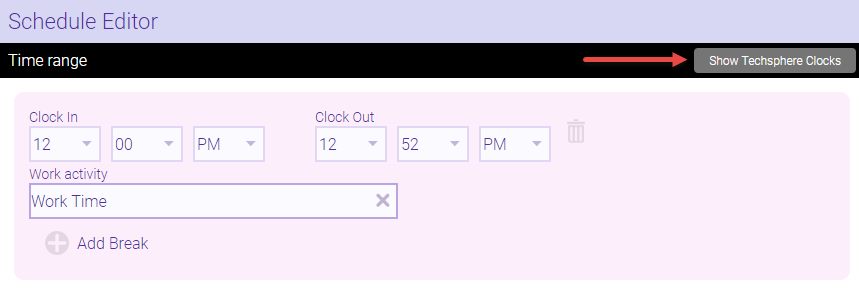
- The Schedule Editor slides out, where you will see existing clock data. On the Time Range row to the right, select Show Techsphere Clocks to reveal a history of all the student/employee's actions on the Techsphere scanner for that day. If you are resolving a clock discrepancy, that history may be useful in determining the missing clock action.

Note: This table displays a history of all actions that were performed on the Techsphere scanner only. Any manual clocks (such as when you select Add clock in the Schedule Editor) will not appear in the Techsphere Clocks table. However, those manual clock actions will appear in the Schedule Manager's Actual view, as expected, and that data will be honored by Payroll and reports.